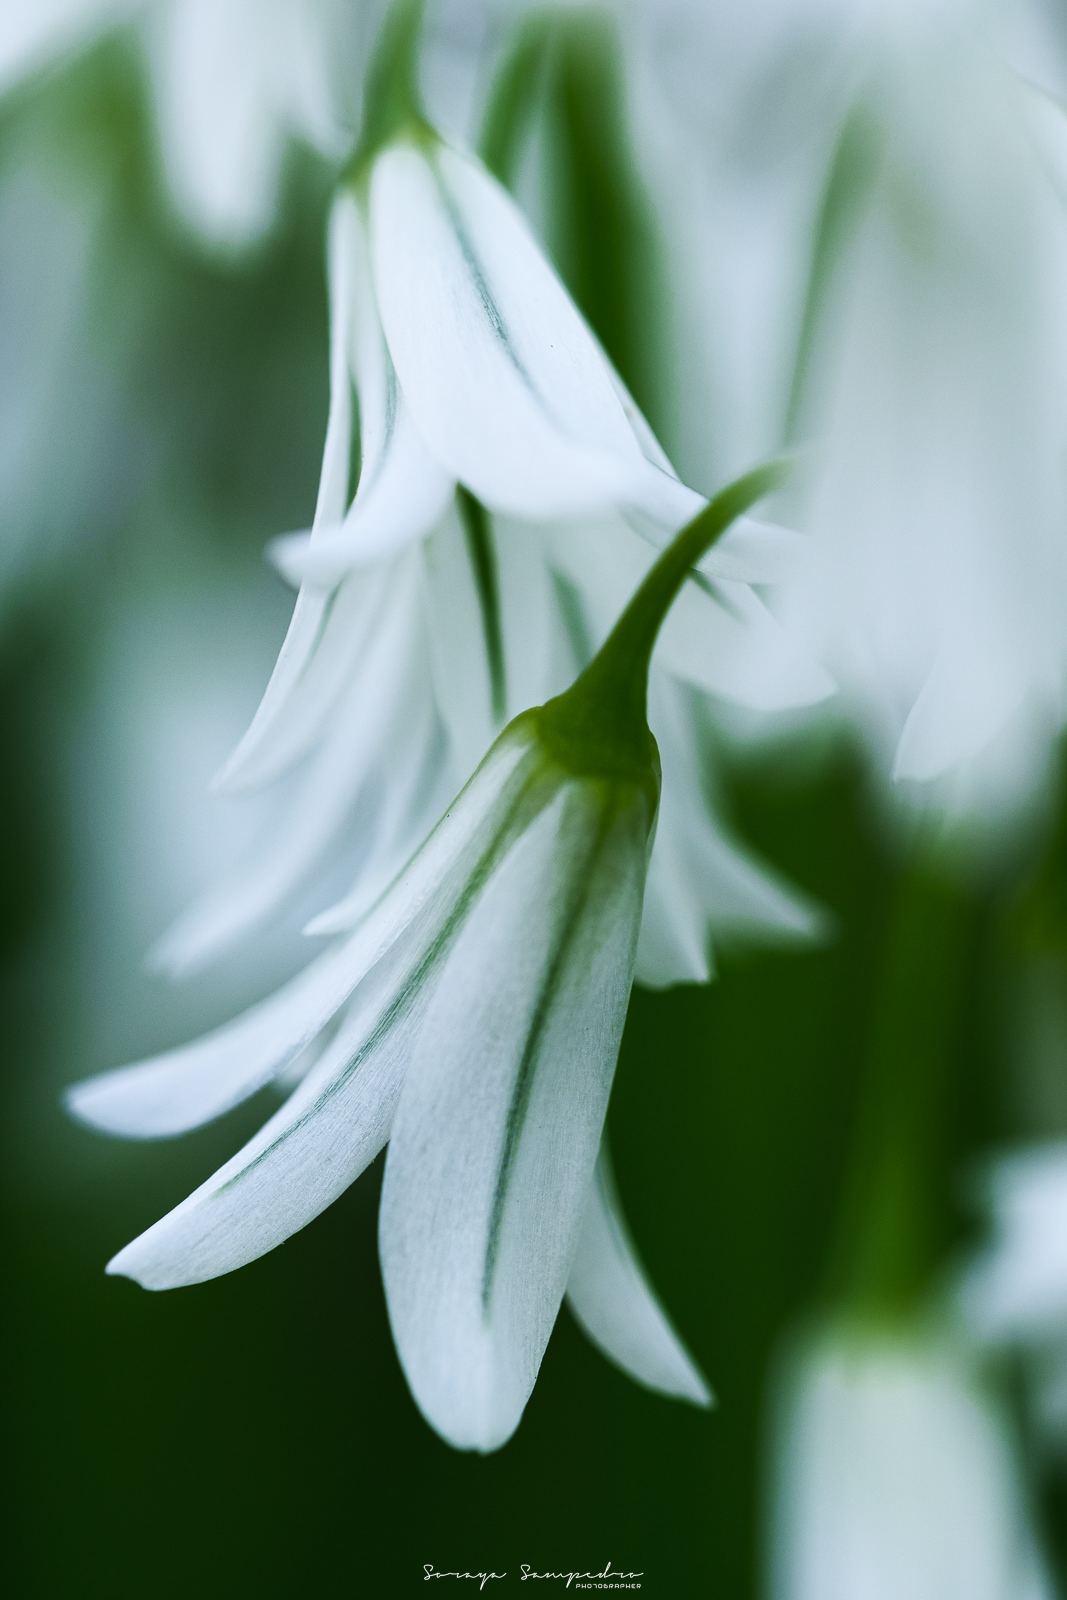
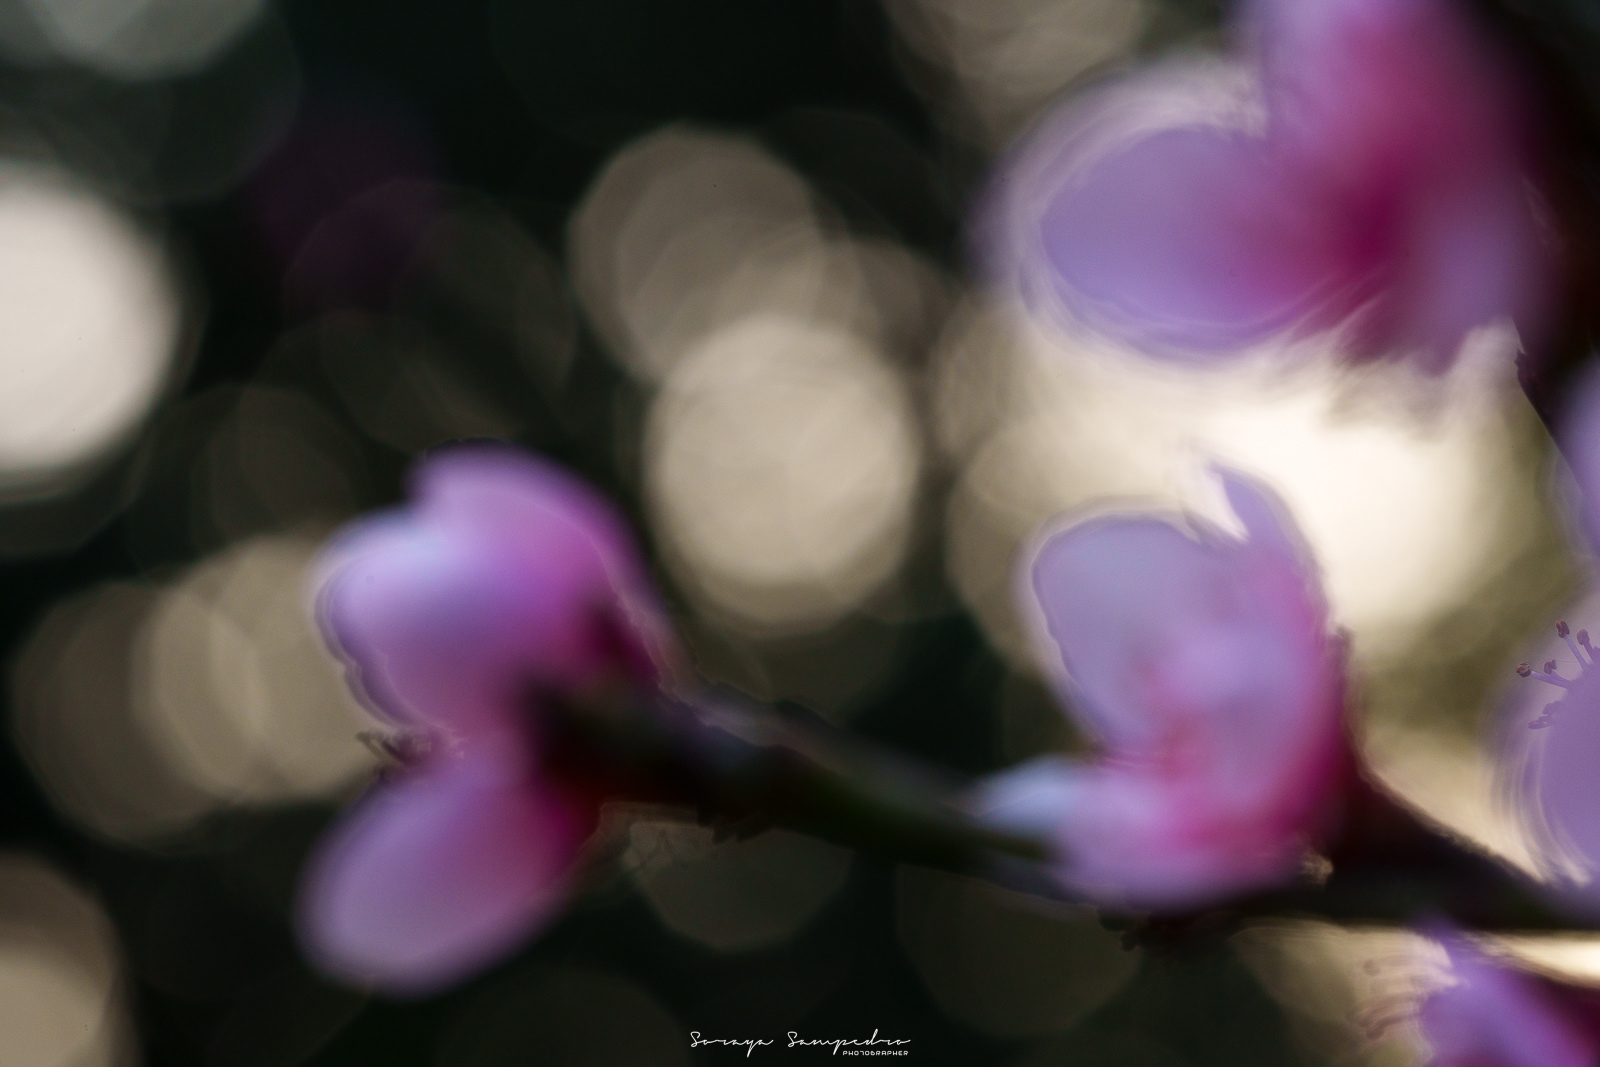
IRIX 150mm f2.8 / ISO400 / f2.8 / 1/800 seg
The Invisible Universe
From the moment I became interested in photography, the world of the smallest things always caught my attention. Thinking about finding a subject for macro photography changed my perspective on seeing and observing the small things around us. Through macro photography, we have the opportunity to discover a fascinating universe, full of shapes and textures that escape the human eye.
As a landscape and architectural photographer, macro photography represents a stimulating and significant challenge. Accustomed to capturing the vastness of the world with wide-angle and super-angle lenses, often using extreme panoramas, the switch to macro has meant a complete transformation in my search for photographic subjects. For those of us dedicated to landscape photography, beginning to delve into this new discipline and adapting to these framings requires considerable effort: we must retrain our vision to explore and compose images in 'micro spaces' or 'micro environments'.
The world of macro photography is a vast and fascinating universe. There are so many reasons to photograph that it can sometimes be difficult to decide which one to choose. The truth is that, with a macro lens, everything becomes photographic potential. From the inert beauty of everyday textures, the fibers of a fabric, the grain of wood, the ephemeral kaleidoscopes of soap bubbles... to the vibrant life of nature—insects, flowers, mushrooms...—every detail becomes an opportunity to discover a hidden world.
However, as a photographer, my advice for those new to this discipline is to keep it simple. As spring unfolds its colors, flowers are an excellent starting point. In autumn, the world of mushrooms similarly offers endless possibilities. Starting with simple, static subjects allows you to familiarize yourself with the techniques and challenges of macro photography before exploring the more complex corners of this tiny universe.

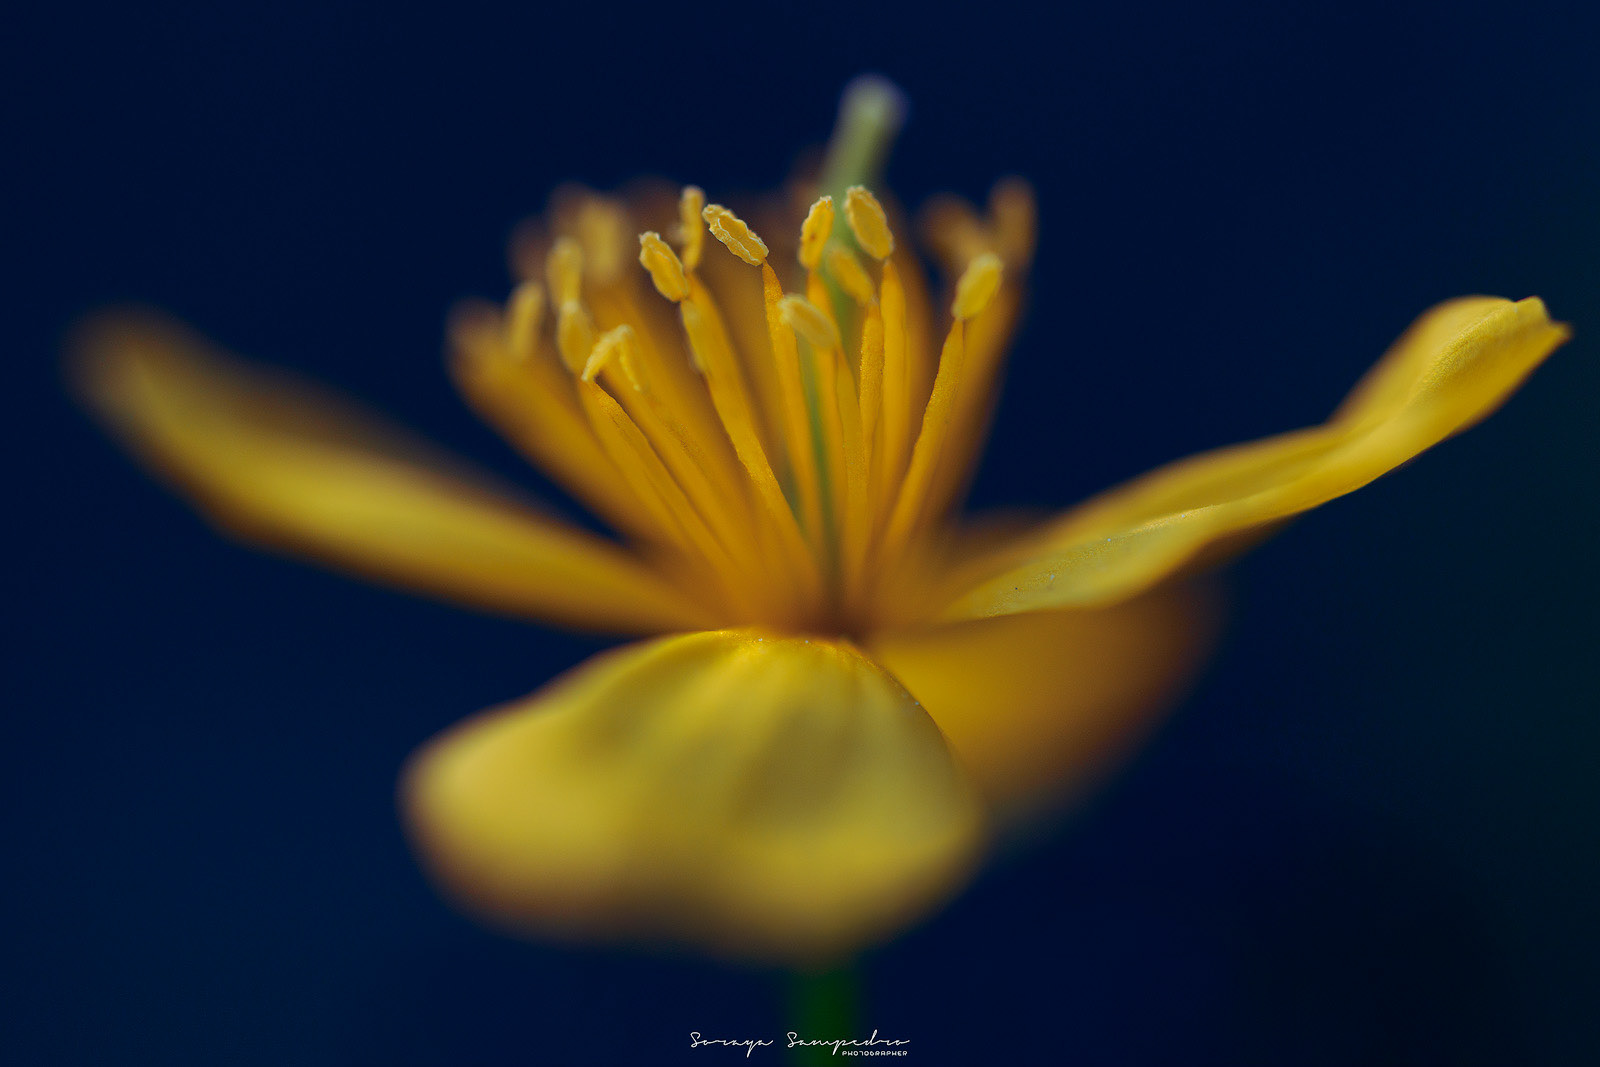
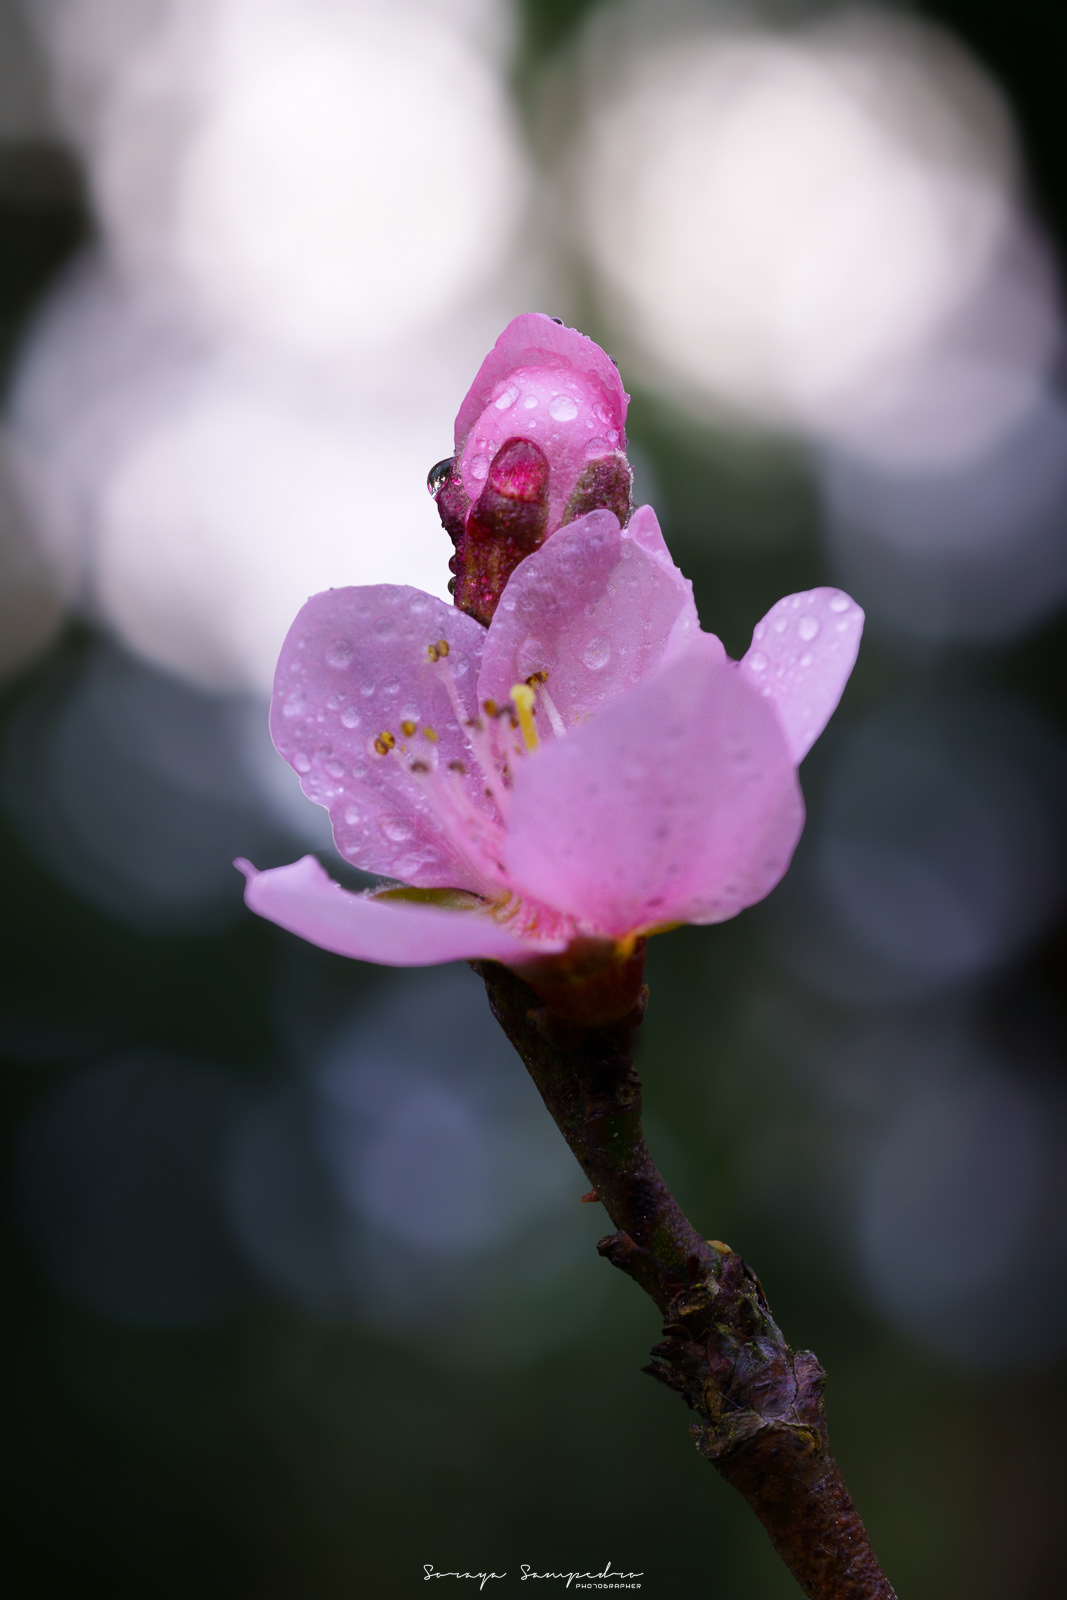
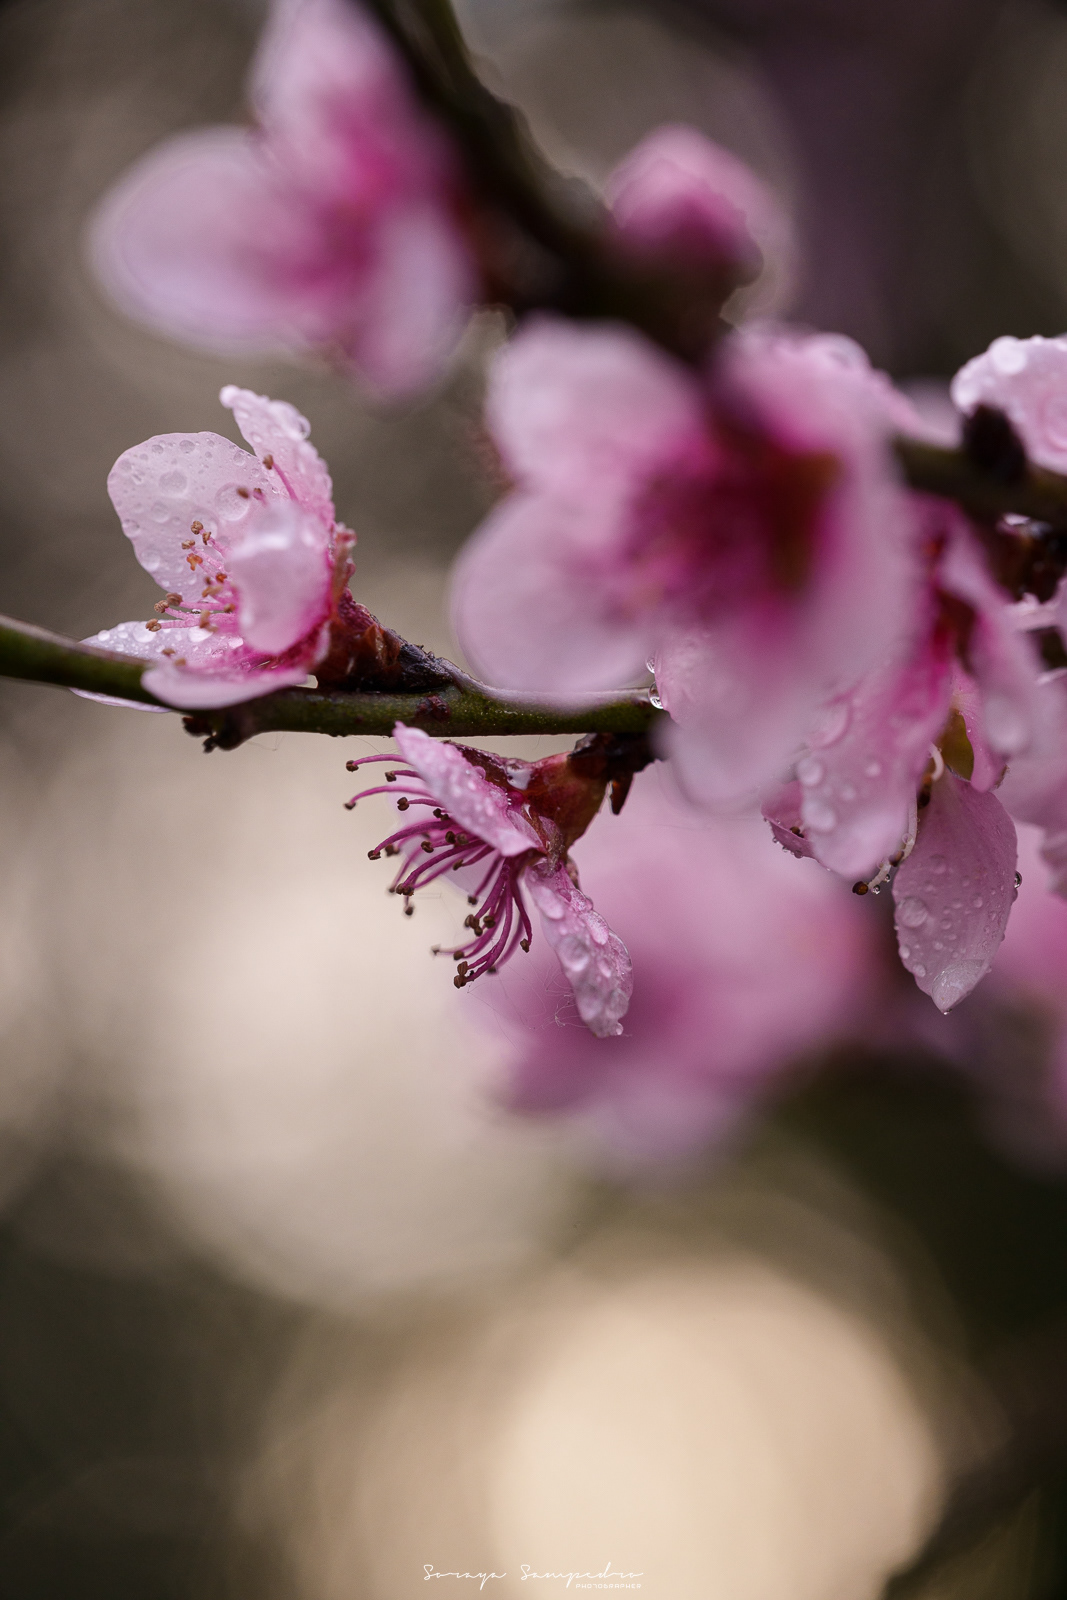
IRIX 150mm f2.8 / ISO100 / F2.8 / 1/1600 seg
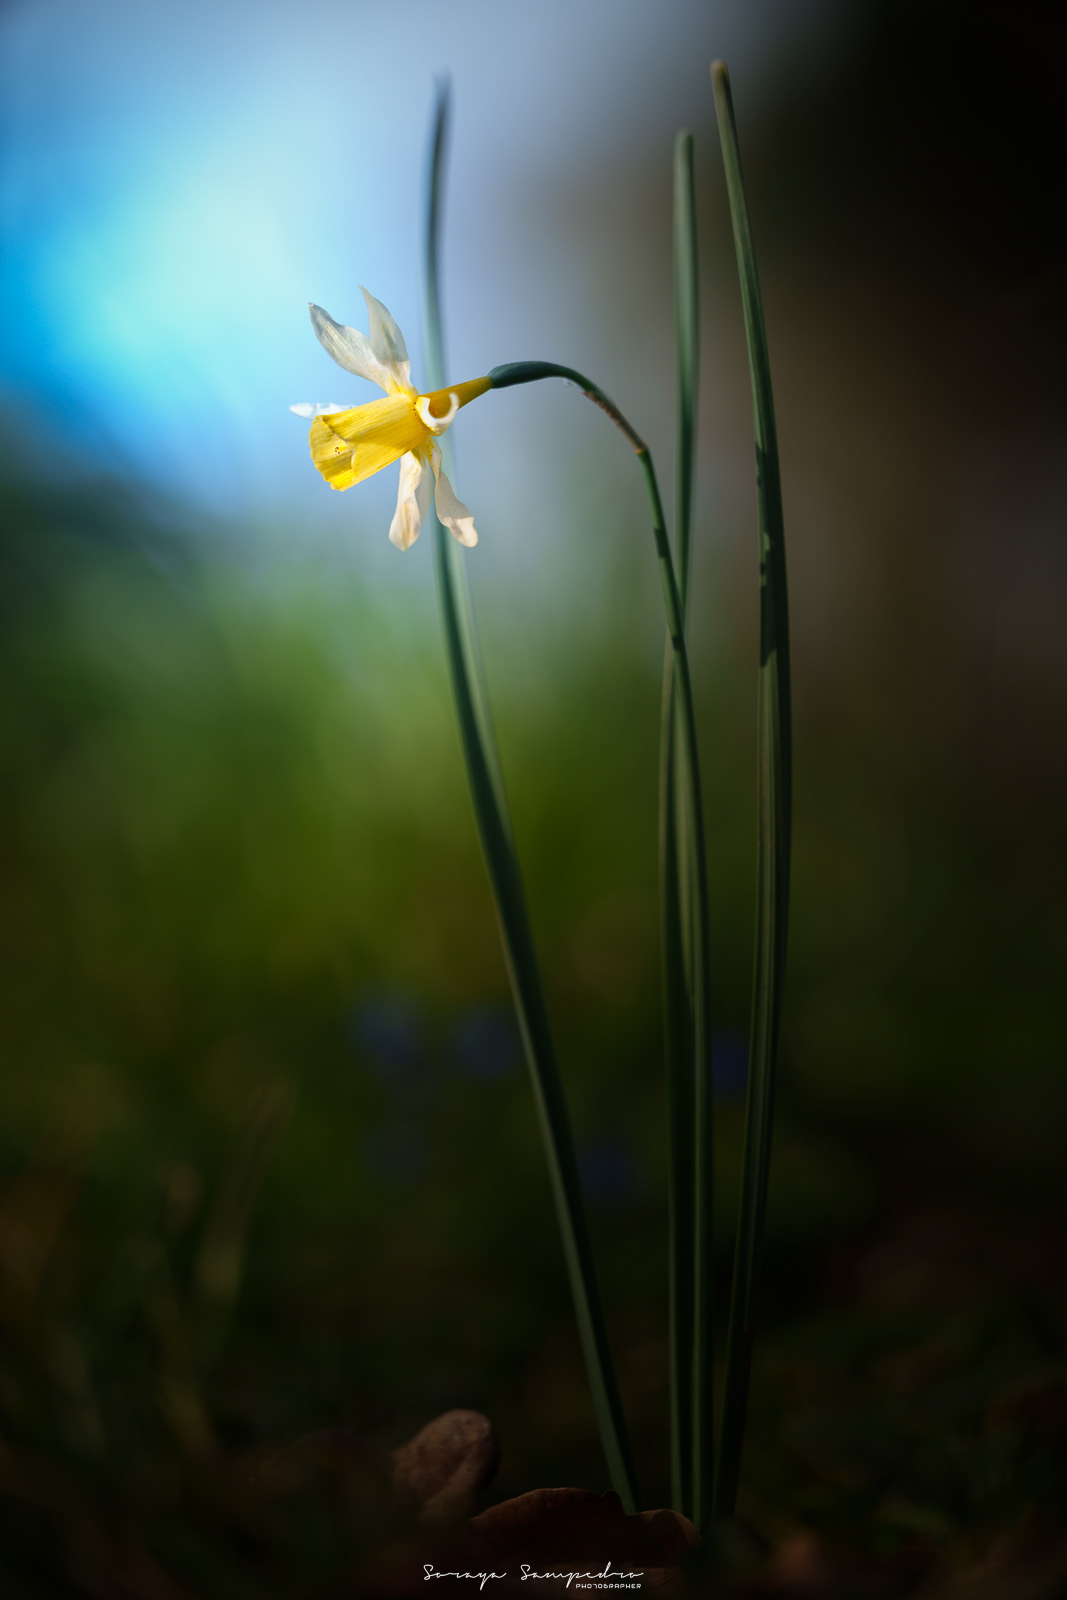
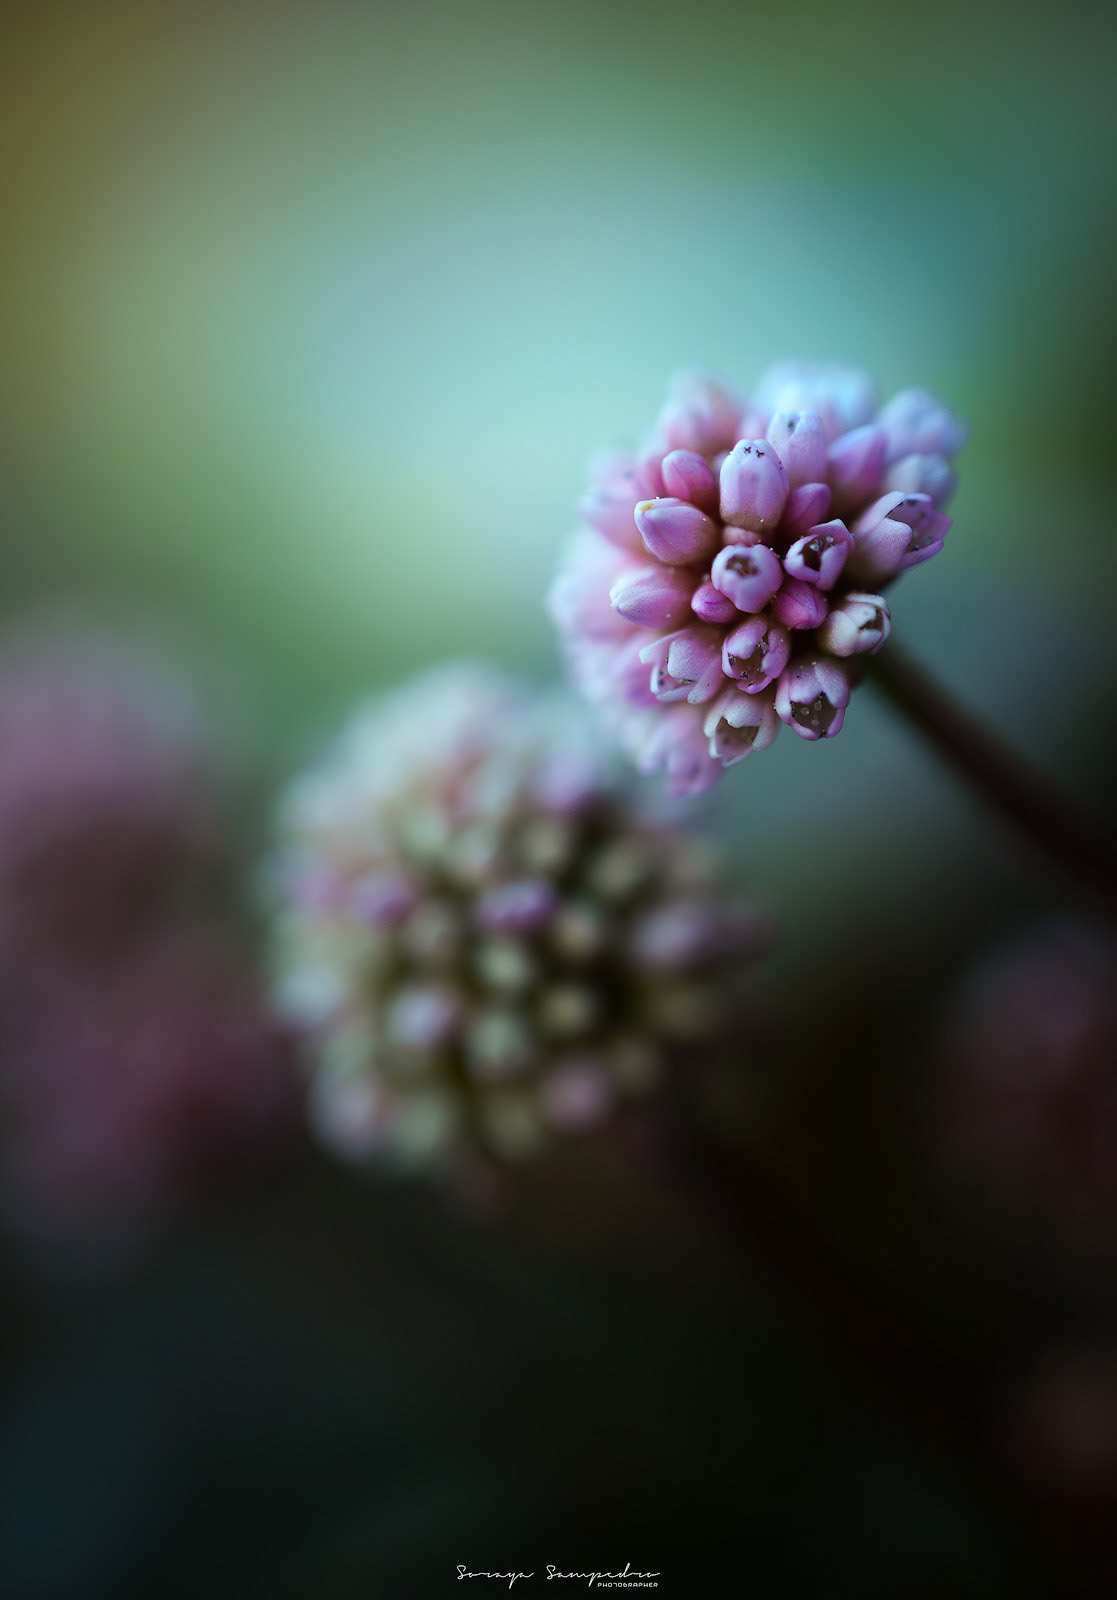
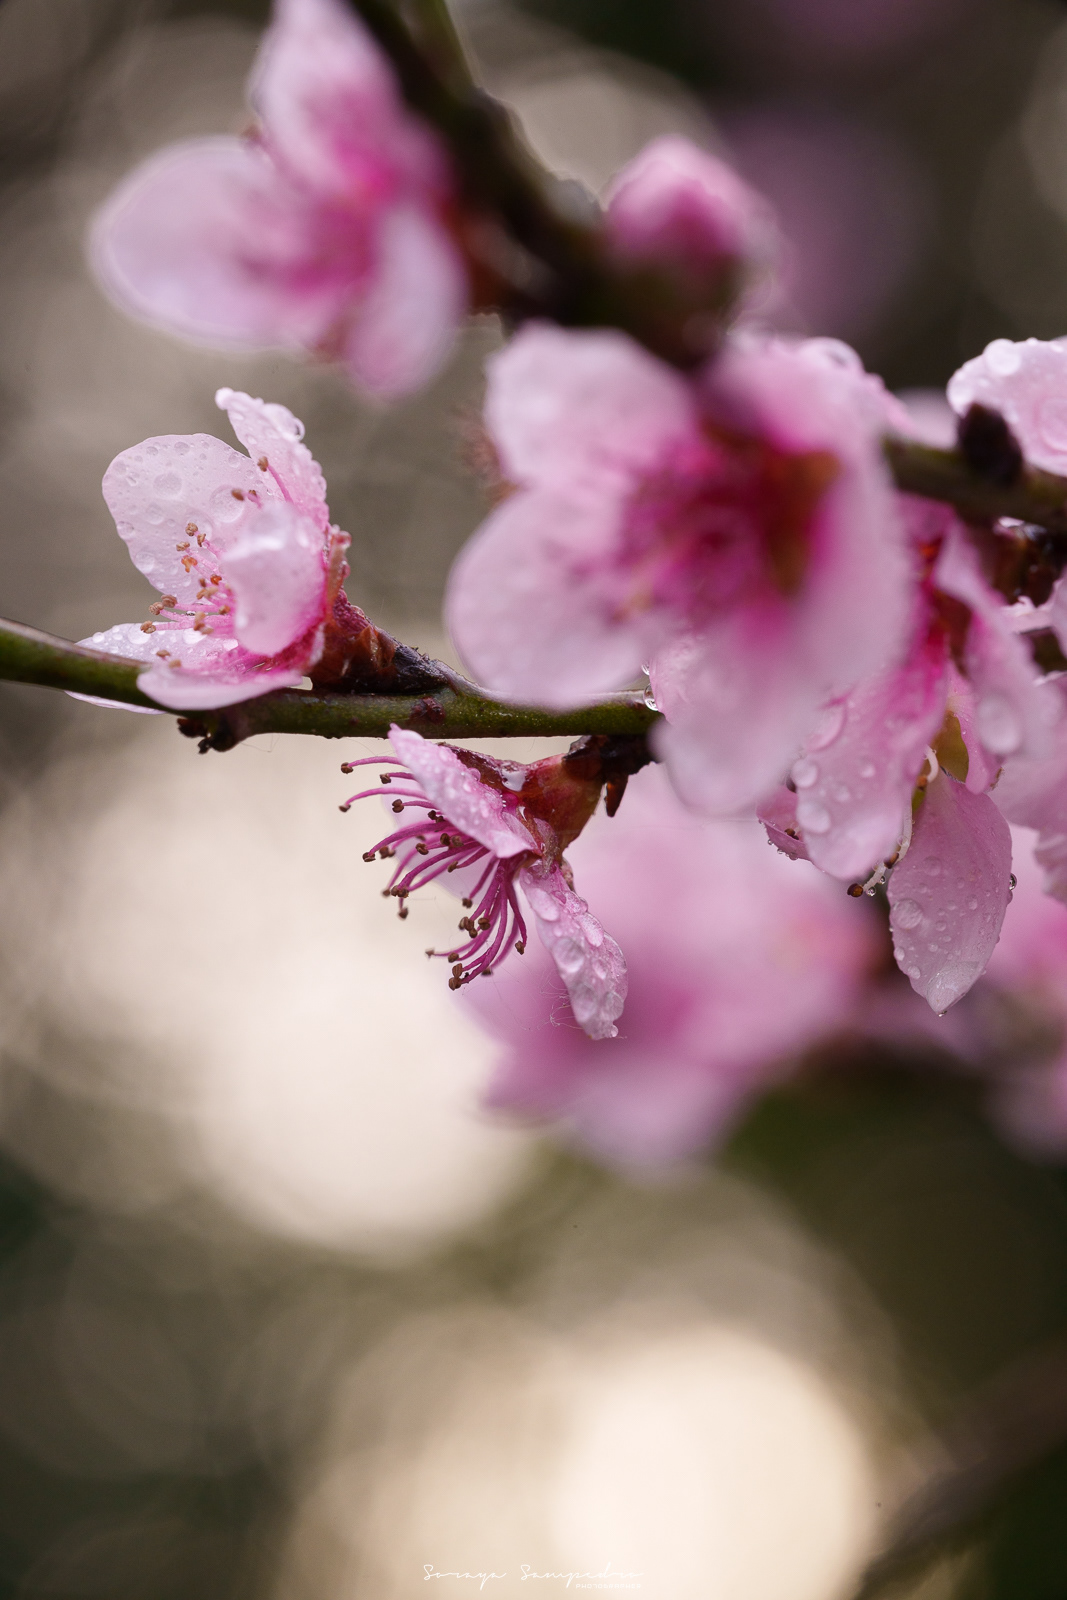
IRIX 150mm f2.8 / ISO100 / F2.8 / 1/1000 seg
The beauty of the tiny
Before we begin, it's essential to clarify what exactly we mean by 'macrophotography'.
We talk about macro photography when the reproduced image reaches a 1:1 aspect ratio, meaning one centimeter of the actual subject is projected as one centimeter on the camera's sensor. Lenses that offer magnification between 1:1x and 10:1x are also considered macro photography, although those approaching 10:1x could be classified as "extreme macro photography."
When magnification exceeds 10:1x, we enter the realm of micro photography.
On the other hand, we should not confuse 'close-up photography' with macro photography, which is generally achieved with telephoto lenses, allowing us to get closer to the subject, but without achieving a 1:1 aspect ratio.
Explained in an even simpler way:
Magnification tells us how much a lens "enlarges" what we're photographing. It's expressed as 1:1, 1:2, 2:1, etc.
1:1 (Macro real)
A 36mm object (in FF) occupies exactly 36mm on the sensor.
Example: A 36mm bee would fill the entire width of your photo.
A 36mm object (in FF) occupies exactly 36mm on the sensor.
Example: A 36mm bee would fill the entire width of your photo.
Less than 1:1 (Approximation)
0.5:1 = The object is twice as large as what the sensor captures.
Example: A 72mm flower would occupy 36mm on the sensor.
0.5:1 = The object is twice as large as what the sensor captures.
Example: A 72mm flower would occupy 36mm on the sensor.
More than 1:1 (Extreme Macro)
2:1 = The object is half of what is seen on the sensor.
Example: An 18mm detail would occupy 36mm on the sensor.
2:1 = The object is half of what is seen on the sensor.
Example: An 18mm detail would occupy 36mm on the sensor.
Key facts:
- The number before the ":" is the size on the sensor
- 1:1 is the minimum to be considered true macro
- Smaller sensors (APS-C or Micro Four Thirds) zoom in further with the same magnification.
- The number before the ":" is the size on the sensor
- 1:1 is the minimum to be considered true macro
- Smaller sensors (APS-C or Micro Four Thirds) zoom in further with the same magnification.
Exploring the small, basic equipment
You don't need to spend a lot of money on the best equipment in the world or the sharpest lens; you can start exploring the world of macro photography with a few basic tools like these:
- A reflex or mirrorless camera, a camera with a micro 4/3 sensor such as an APS-C or, if we prefer, an FF, are valid.
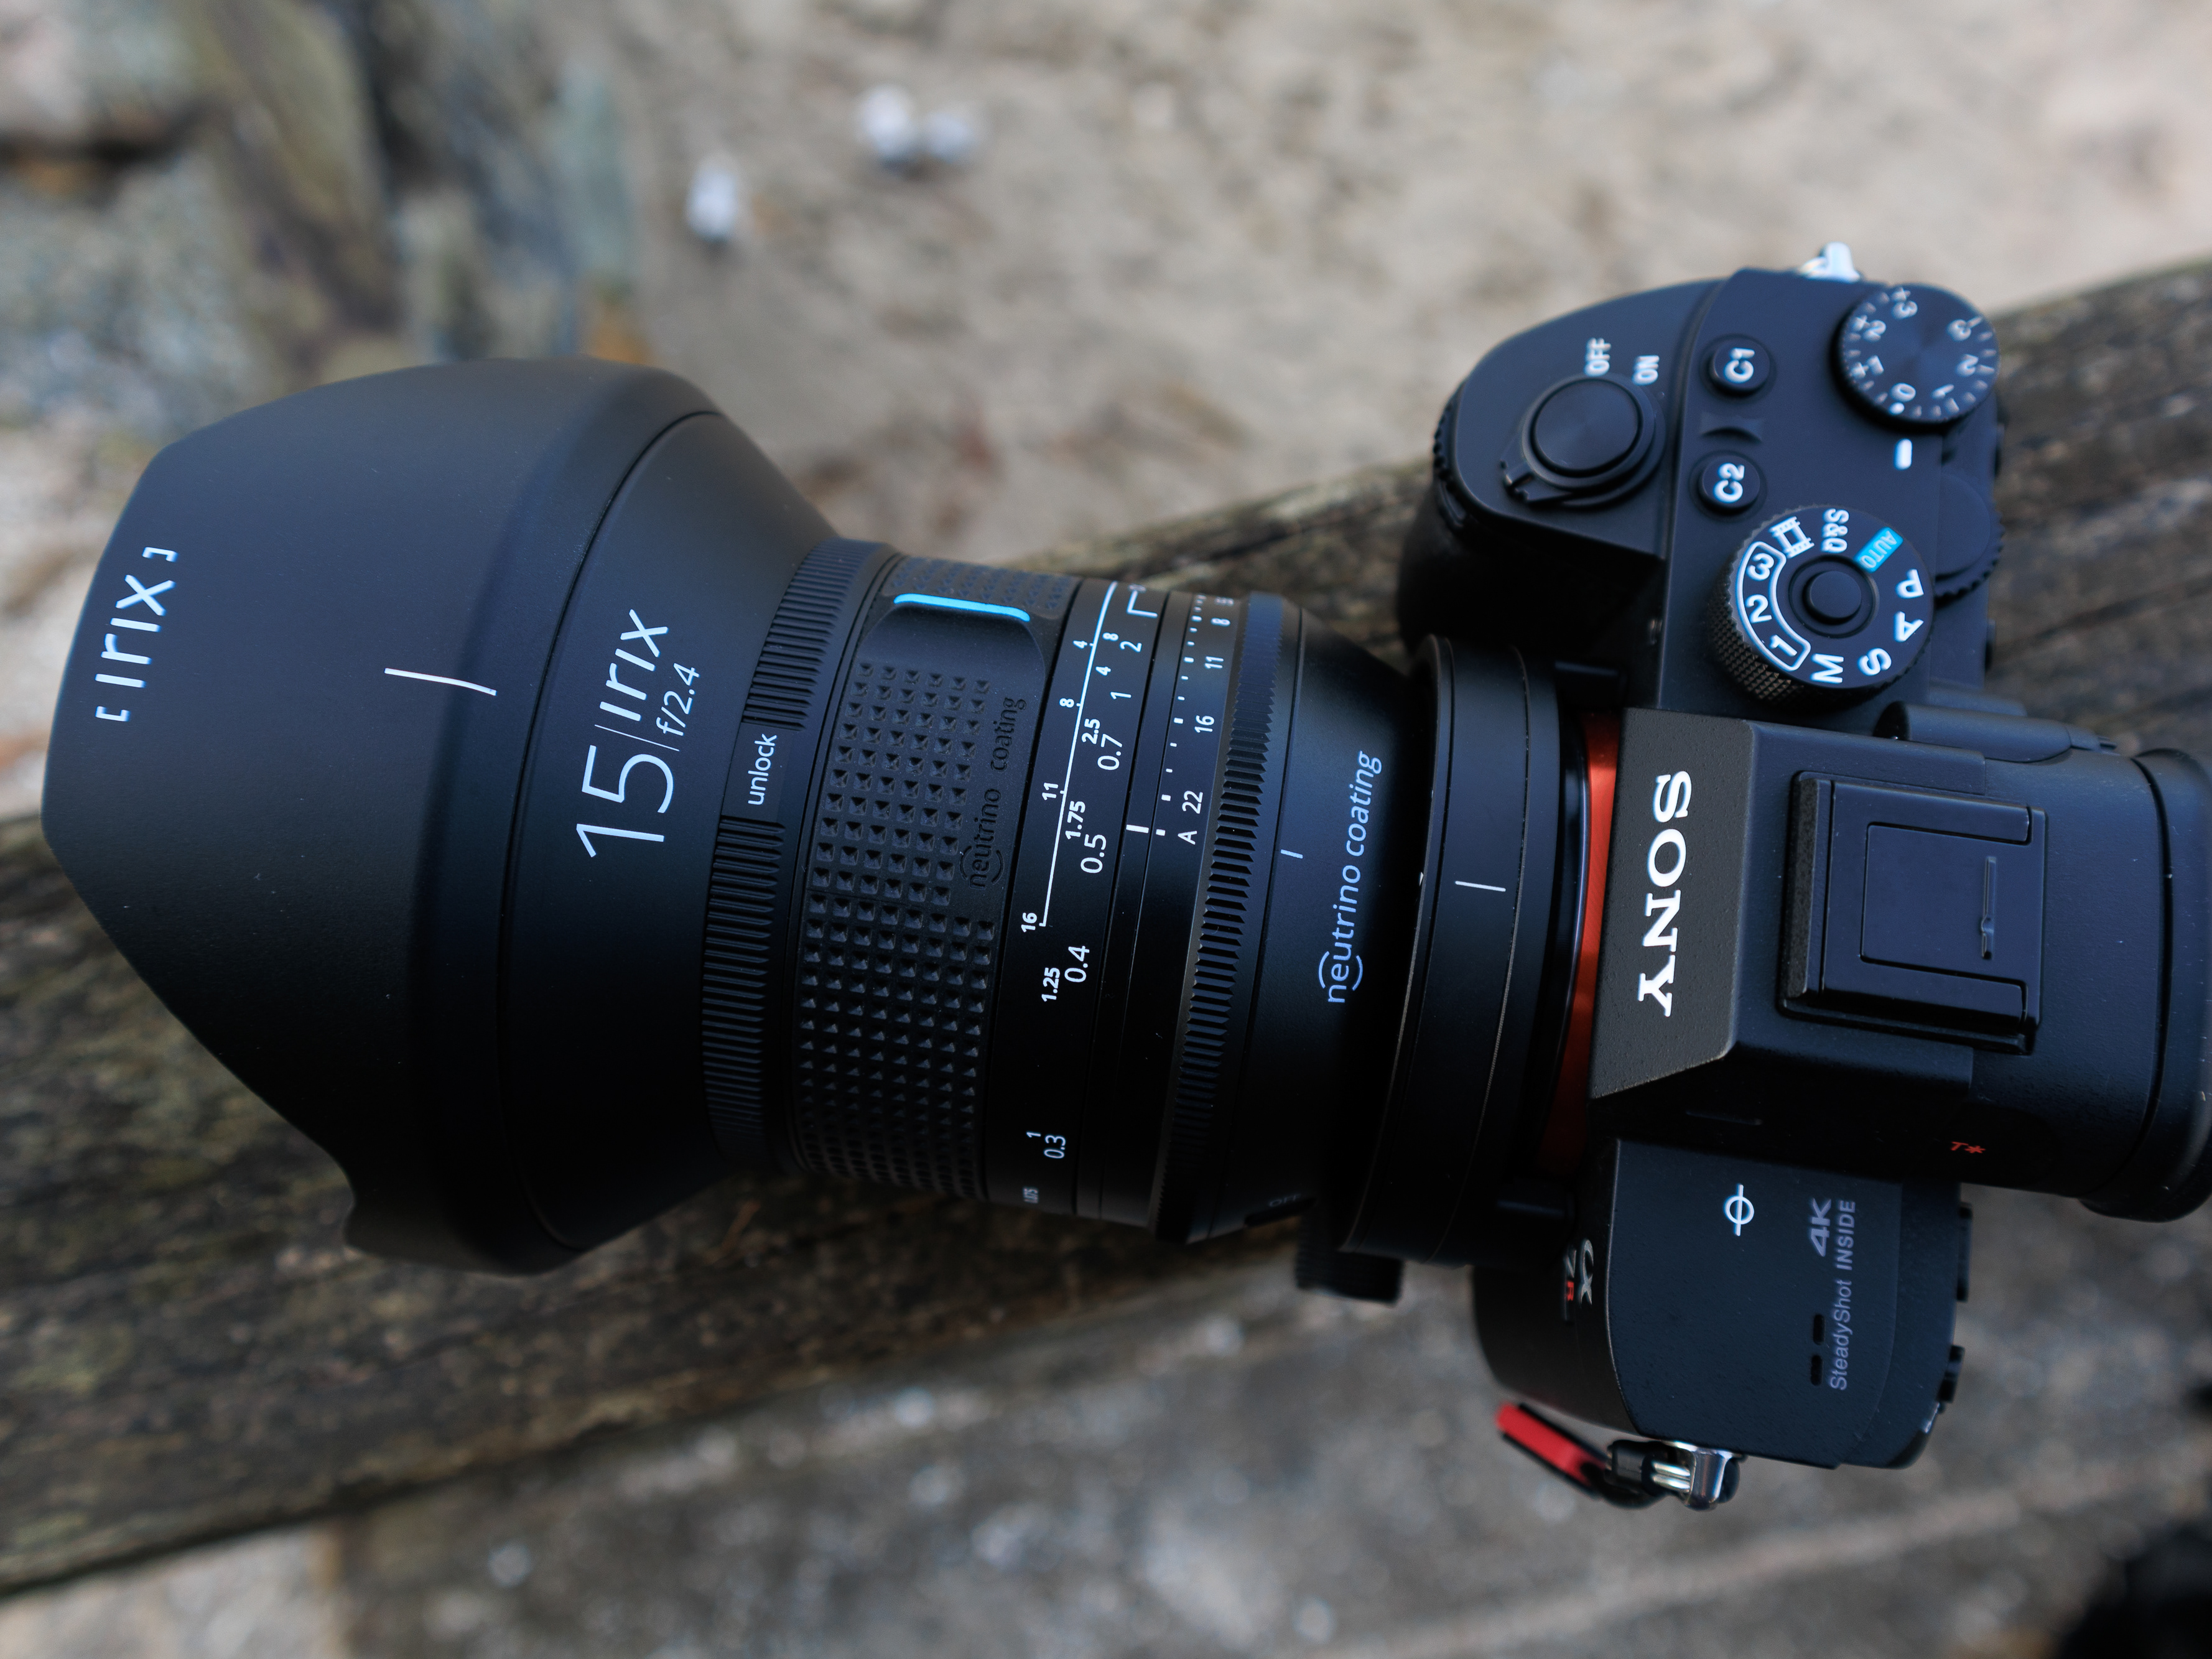
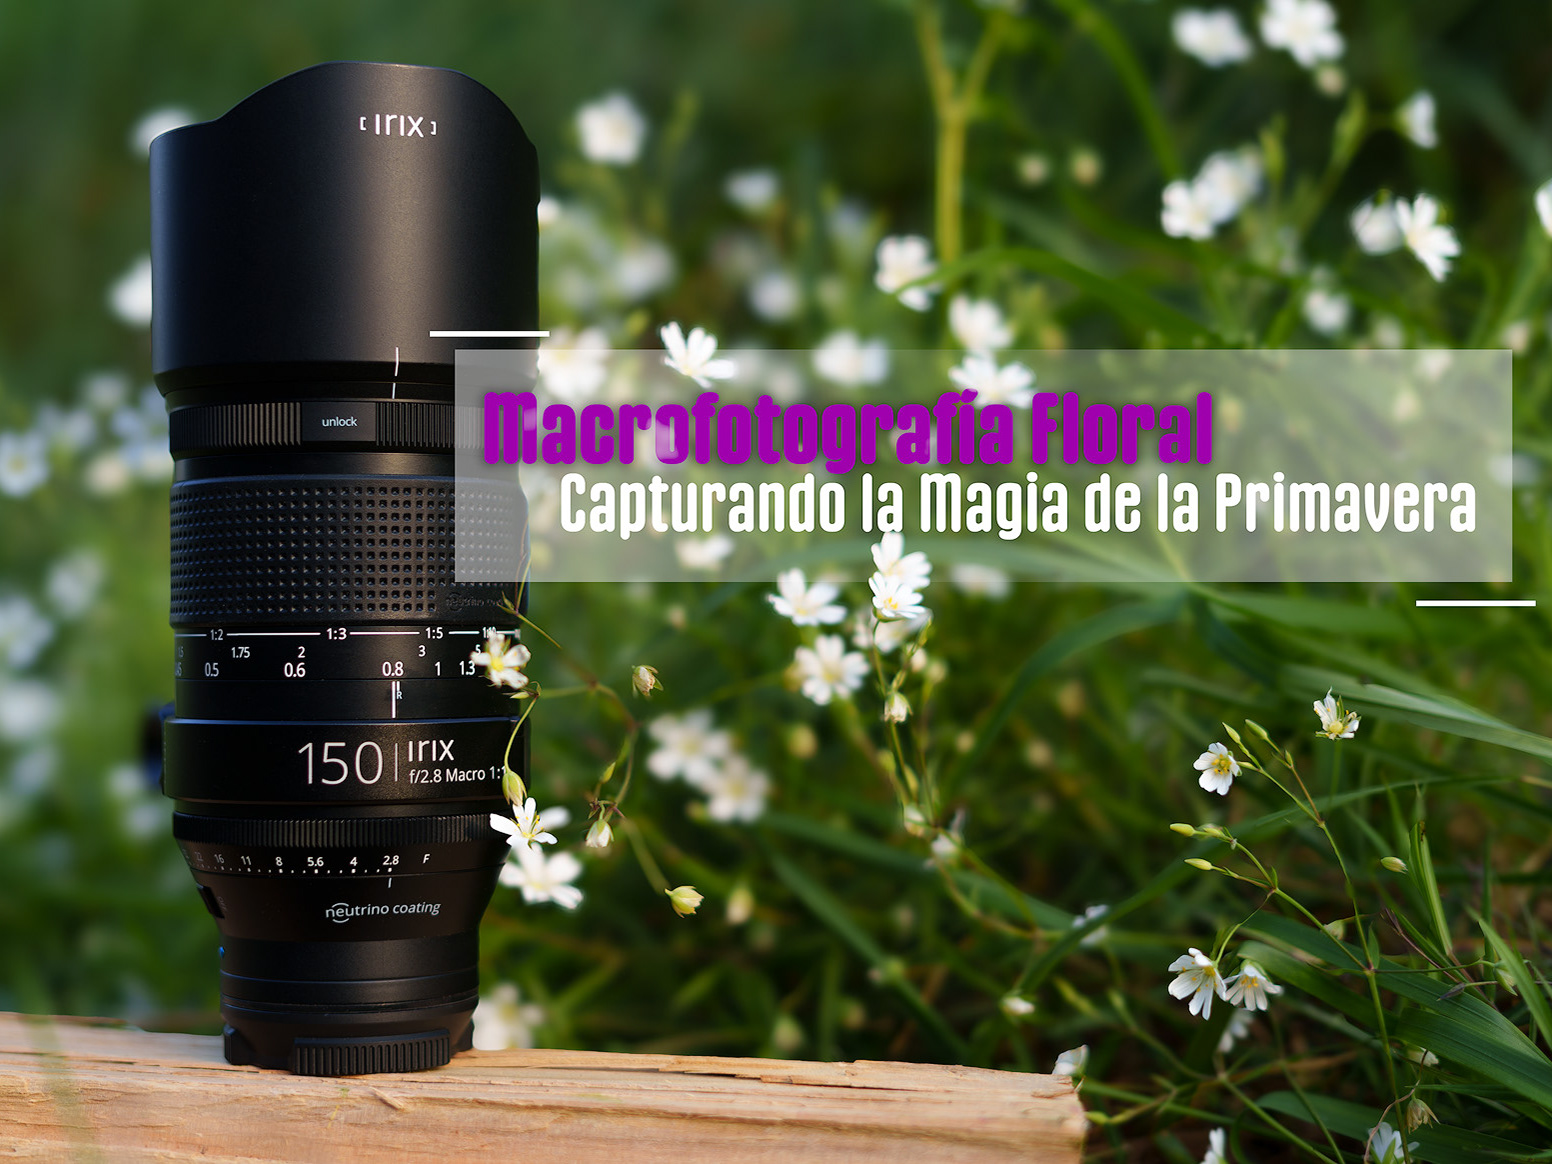
- A macro lens. Interchangeable macro lenses with different focal lengths are available on the market. Short Focal Macro lenses (30-50mm) require you to get very close to your subject, so they're best suited for motionless subjects or flowers. Standard Focal Macro lenses (60mm to 105mm) allow us to stand further away from our subject. Telephoto Macro lenses (150mm-200mm, I use the IRIX 150mm f2.8 lens) give us more space to distance ourselves from our subject, so they're ideal for photographing insects and other subjects that might be bothered by our presence.
- A remote shutter release with or without cable.
- A tripod that allows us to lower the framing angle significantly. Most now allow us to place the camera at ground level by inverting the central bar.
- A cloth bag filled with 1kg of rice.
With these 4 or 5 elements we can easily get started in the world of macro photography.
Fortunately, one of the great advantages of macro photography, as opposed to landscape photography, is its accessibility. You don't have to travel halfway around the world or long distances to capture scenes of stunning beauty. Simply explore an urban garden or a nearby countryside, where the proliferation of seasonal flowers and insects offers an endless source of inspiration.
As an anecdote I can tell you that last Saturday afternoon I took my camera and went out to the back of my house where there is a meadow with tall grass and, looking for small flowers to photograph, I ended up having an incredible time photographing a tiny and beautiful spider that was crouching on the stem of a grass [ Photo 3 ].
Furthermore, macro photography somewhat frees us from our dependence on ideal light. Unlike landscape photographers, who seek the soft light of dawn, sunrise, sunset, or the blue hour, and avoid the central hours of the day due to the harshness of the sun, in macro photography, we can control the lighting as we wish. Even the perpendicular light of midday can be an ally.

[ Photo 3 ] IRIX 150mm f2.8 / ISO400 / F11 / 1/320 seg
Discovering the magic of flowers, 'Where do I start?'
Exactly five months ago, I was exactly where you are now: with a camera in my hands, the 150mm f2.8 macro lens that IRIX had lent me, and a thousand questions swirling around. How do I focus? Which flower do I choose? Why is everything blurry?
I remember my first session: I spent two hours crouching in a meadow, sitting on wet ground, only to end up with 50 blurry photos of a small flower I found. But something changed that day. Between the frustration and the poorly lit petals, I discovered that floral macro photography wasn't just about knowing the technique, it was also about learning how to see.
Today, after making more than a few mistakes, I want to share some of the tips I've learned over the months I've been practicing. I'm by no means an expert, but I am a passionate person who has already gone through that "where do I start?"
Let's go step by step.
- The first thing I do is locate my target. In my case, it's often quite easy and accessible since I live in the countryside and am surrounded by nature. However, if you live in the city, you can go for a walk in a nearby garden or grab your camera and head out of the city a bit.
There's one thing to keep in mind when photographing flowers: they don't last forever. So, if you find a flower you like, you can't wait a week to photograph it, because it will probably be withered by the time you do.
There's one thing to keep in mind when photographing flowers: they don't last forever. So, if you find a flower you like, you can't wait a week to photograph it, because it will probably be withered by the time you do.
- Once you've found the perfect flower, the next step is to find a good composition. For this, lowering your vantage point to ground level is key, which usually means sitting or lying down. Avoid shots from above, as they tend to be flat. By photographing at ground level, you can take advantage of the natural blur of the macro lens to separate the flower from the background and achieve a more attractive image.
To facilitate this perspective, use a rice sack or invert the tripod column. Remember that, in macro photography, keeping the camera steady is crucial for obtaining sharp photos.
- To achieve optimal results in macro photography, manual focus is essential. This is due to the need for extreme precision, as the depth of field in this type of photography is generally so shallow that the camera's autofocus is unable to focus with the required accuracy. An advantage of modern cameras is the on-screen magnification function, which allows us to verify both the focus point and that the selected area is correctly focused.


- Another essential factor that will determine the final result of the photo is LIGHT. While, as I mentioned earlier, macro photography allows us to work in a variety of lighting conditions, it's essential to control it. We must decide, depending on the scene, what type of light we want to incorporate. Personally, I love including those flashes (flares) that filter through the foliage and, by playing with the background blur, enrich the image, making it much more captivating and attractive. Therefore, I recommend finding a strategic location with the conditions I mentioned when composing.
To control the light, we can use our own body shadows or purchase diffusers and reflectors, which are quite inexpensive. We can even make them ourselves, using, for example, the silver or gold trays found in some containers.
- Aside from the macro lens' incredible ability to show the invisible, the blurring it produces is another of its greatest attractions, and one I'm equally enamored with. These blurring effects isolate the subject from the background, creating a soft bokeh, which is just as important in macro photography as the subject itself. And how do we achieve this? Primarily by using wide-open apertures (such as f/2.8–f/5.6). Experimenting with depth of field will make all the difference in your photographs.
An important aspect to keep in mind is that wide-open apertures decrease the depth of field on the subject. We can take advantage of this to direct the viewer's gaze to a specific area. However, if we're looking for complete sharpness across the entire subject, the solution is focus stacking. This technique involves taking multiple photos of the subject, moving the camera precisely along a millimeter track (similar to the one in the image). The number of photos can vary depending on the subject, even reaching as many as a hundred. These images are then combined with software (there are specialized programs, but Photoshop has made great progress in this field), generating a final image with the subject in sharp focus.
See the example with the progression of opening of the different diaphragms:

F2.8
F4
F5.6
F8

F11

F16
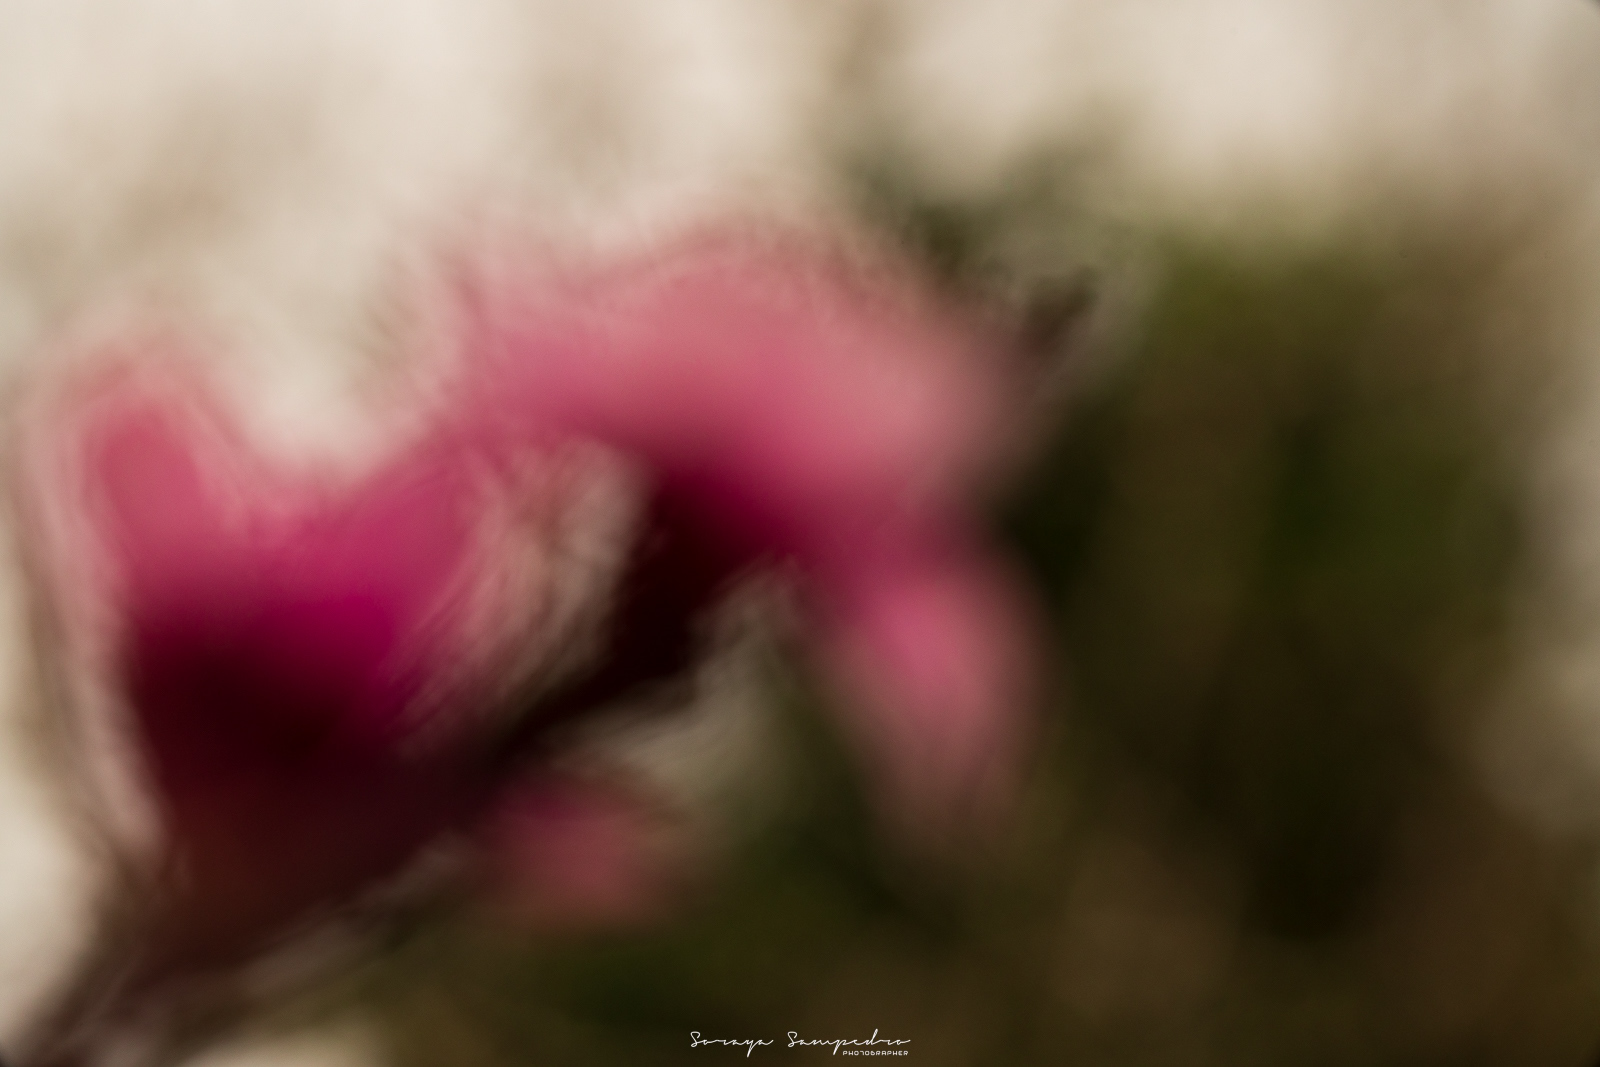
- A recurring discussion in the macro photography community revolves around focus: is the subject absolutely sharp, or is it not a prerequisite? From my perspective, macro photography is a fundamentally creative field. It gives us the opportunity to build small worlds through the photograph of the minuscule, and each photographer's vision is undeniably personal. Ultimately, each person decides what they want to express with their photography.
Personally, I tend to use wide-open apertures. I have a strong preference for blurring, as it allows me to focus the viewer's attention on a specific area, such as the pistils of a flower. In my view, and also considering composition and other elements, full focus on the subject can often detract from its impact. If creative macro photography sparks your interest, feel free to explore the possibilities offered by blurring. And why not everything out of focus?
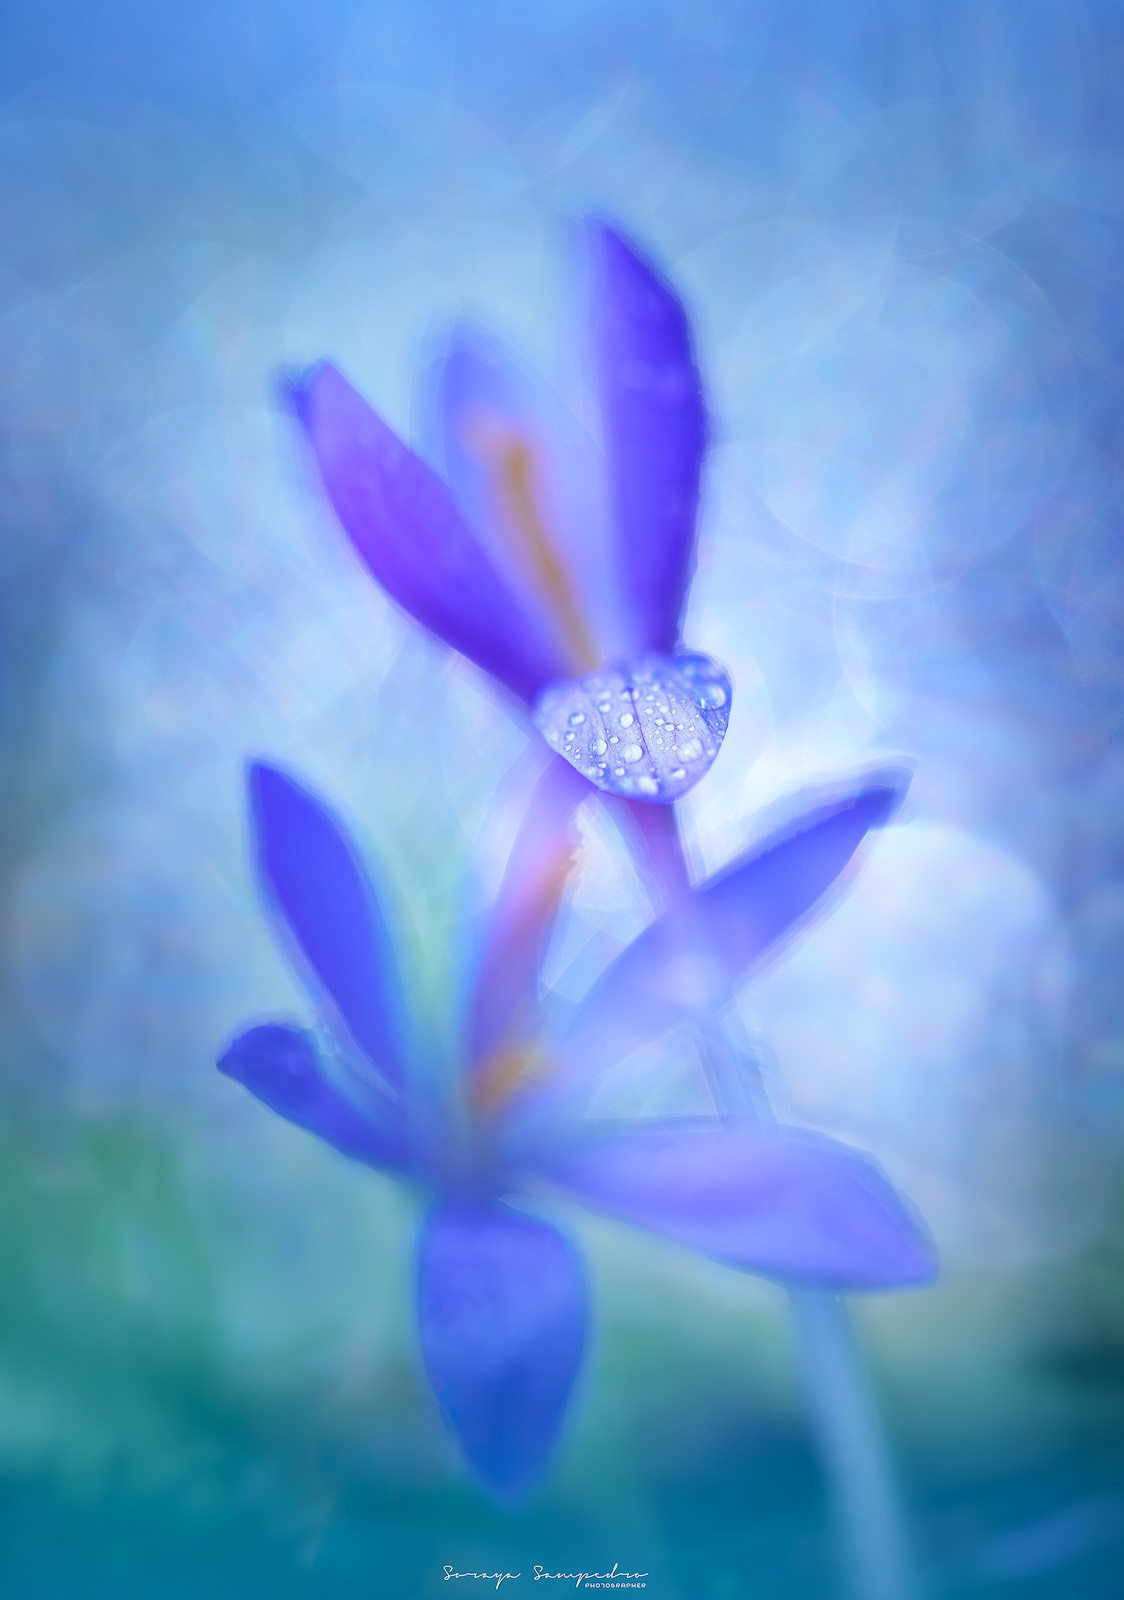
- An interesting resource I learned in a macro workshop last fall is to play with the camera's white balance. While it's true that this can be modified later in editing, experimenting directly in the scene will allow you to visualize the final result in real time on your camera. My advice is simple: experiment with different parameters and, be creative!
I hope the tips shared in this post inspire you to create your own photographs. But remember, the key is in the action: go out, take your camera, and shoot. Experiment, learn from your mistakes. It's the most effective way to progress in macro photography.
My photographic equipment in macro photography
We often look to other photographers for inspiration, and our curiosity about their equipment is natural. I want to satisfy that curiosity and tell you what tools are my go-to tools for work.
- My main camera is a Sony A7RIII or Sony A7CII.
- My macro lens is the IRIX 150mm f2.8, a lens that I love for both its sharpness and its especially smooth bokeh.
- I also usually carry a 180mm IRIX brand millimeter rail in my backpack.
- A wireless shutter release.
- A K&F Concept tripod, but most of the time what I use is a cloth bag filled with 1kg of rice to get my shots at ground level.
- Foldable diffusers and some small reflectors made by me with cardboard and gold and silver metallic paper.
- A small flashlight.

Sony A7CII + Millimeter rail + IRIX 150mm F2.8

IRIX 150mm F2.8
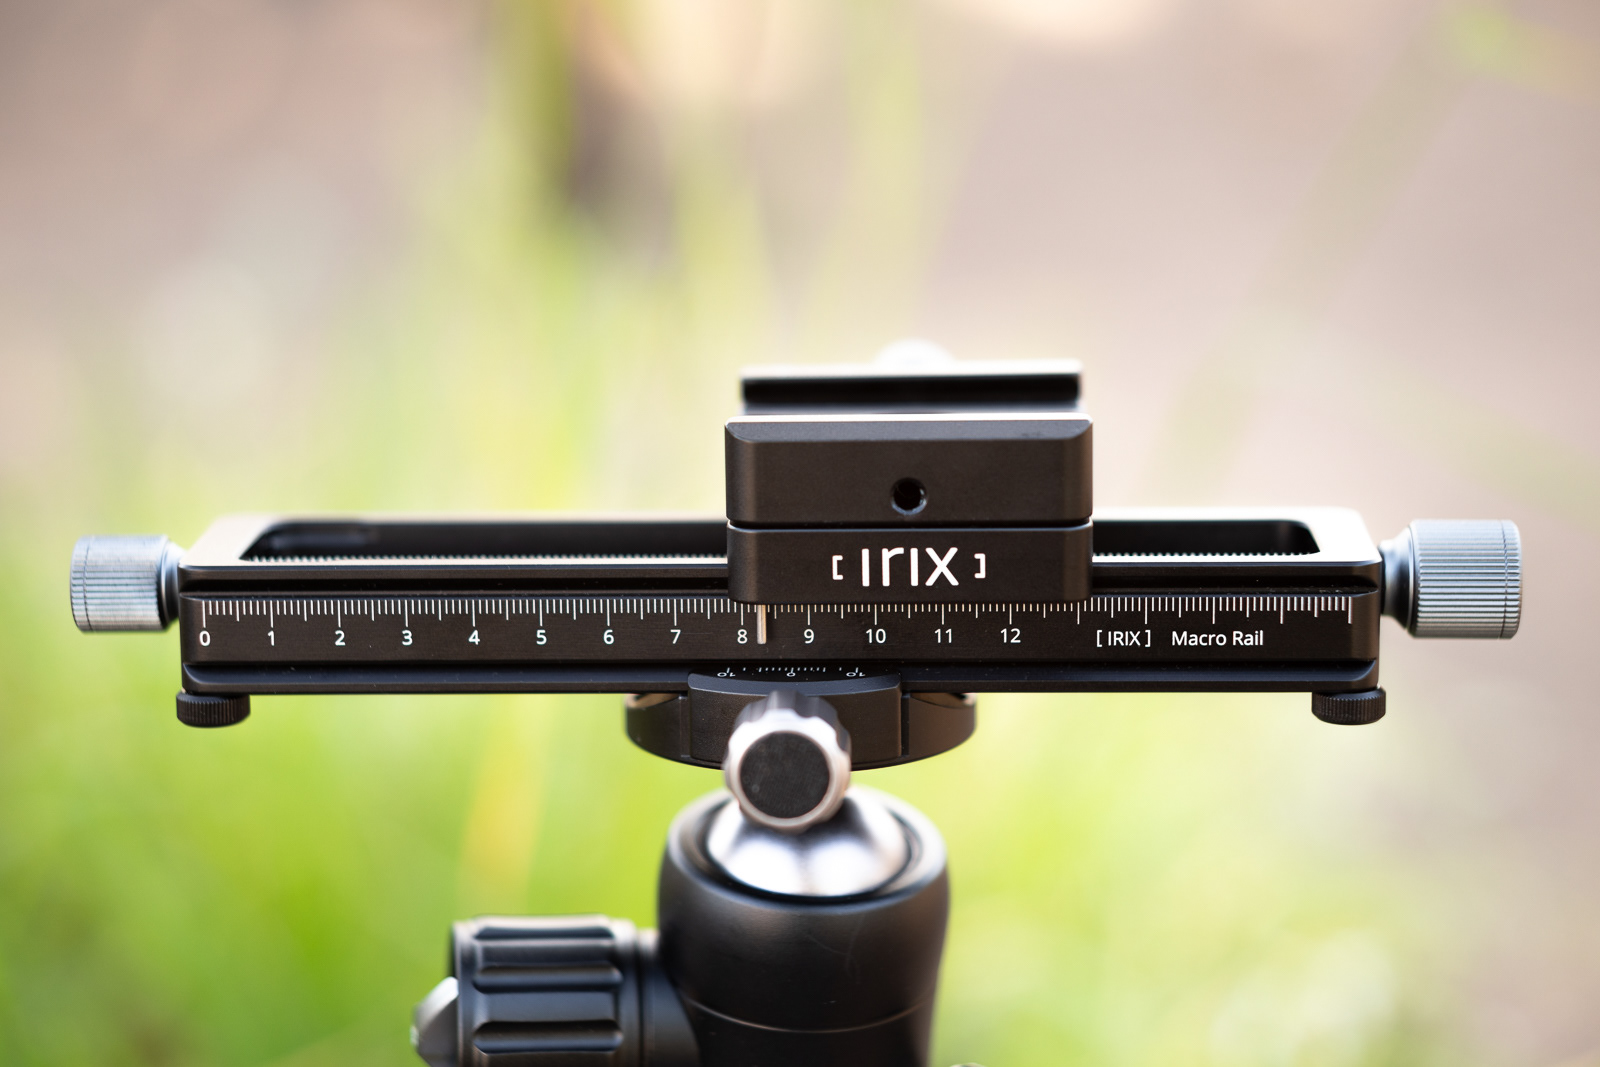
Millimeter rail 180mm
My personal conclusions about the IRIX 150mm f2.8 1:1 Macro lens
To conclude this blog post, I would like to share with complete transparency the sensations I have had over the past few months working with this 1:1 magnification macro lens.
There are many aspects that made me fall in love with it, first and foremost its exceptional sharpness even at f2.8 with excellent contrast and very low chromatic aberration, its long focal length (150mm) that allows for greater illumination of the subject, a much more compressed background with larger and softer bokeh lights, and more space so as not to scare away a live subject. In addition to its exceptionally smooth and creamy bokeh, I love how it blurs backgrounds.
It's true that it's a manual lens without a stabilizer, but all photographers who take macro photos will tell you that it's essential to use a tripod or rest the camera on a firm surface, since focusing is often critical. Although I'm no expert, I can assure you that this is the case. The focus ring is very wide and comfortable, with a long travel, and just the right amount of hardness to work comfortably and not lose focus at any time due to accidental contact.
As for its construction, for me one of the fundamental characteristics is that it has contacts so it transmits the EXIF data to the camera. It is worth noting that it is a robust lens with excellent quality finishes. It also includes a collar for greater stability that will allow us to change the position from horizontal to vertical and vice versa. This collar is an extra advantage for this lens.
In conclusion, I think it's one of the best options currently on the market within this focal length range and at a very reasonable price. If you'd like to delve even deeper into the technical details, feel free to visit this link:
If you decide to buy it, remember that the millimeter rail is an indispensable companion for your macro photography:
And by visiting my COLLABS section and entering with my affiliate link you'll get a small discount.